
Stripe subscriptions in Nuxt: pricing, checkout, and webhooks

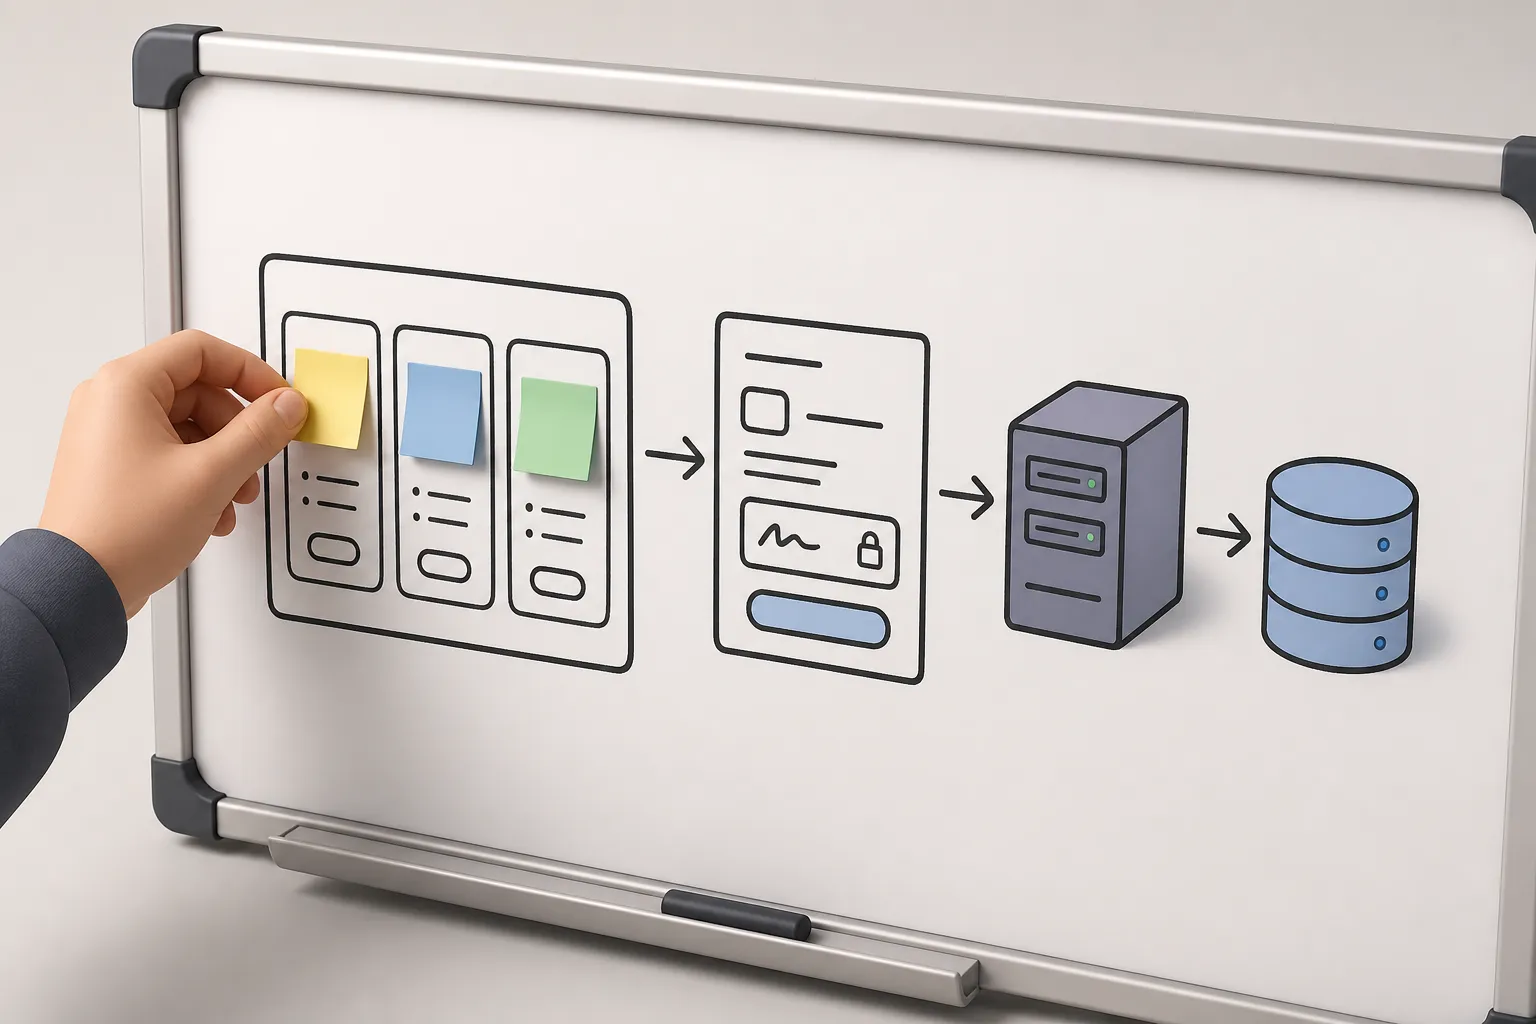
Subscriptions bring predictable revenue, but wiring them into a Nuxt app goes wrong in small ways that cost you time and churn. The biggest mistakes we see: trusting a success URL, mixing test and live IDs, and letting the client choose any price. Here is a working baseline for Stripe subscriptions in Nuxt 3, with the practical decisions we ship in our Nuxt SaaS starter so you can move fast and still sleep at night.
1) Plan pricing tiers and trials
Design the model before you code. Your pricing rules drive navigation, access control, and analytics. Write them down so the app, Stripe, and support scripts all match.
- Map features to tiers. Decide what Free, Starter, and Pro actually unlock. Every paid feature should live behind protected routes and server-side checks. A simple pattern: public marketing pages, an authenticated area for Free, and a premium area visible only when a subscription is active.
- Intervals and amounts. Lead with monthly. Offer annual with a clear percentage discount, not a vague “save big.” Keep names human: Starter $12/month, Team $29/month. Avoid more than three tiers at launch.
- Trials. Choose length (7 or 14 days are common), whether a card is required, and enforce one trial per account. If abuse is a risk, limit trials to verified email domains or one per payment method.
- Seats vs usage. For per-seat pricing, you will pass a quantity to Checkout and keep a seat count in your database. For usage, plan on metered billing and a daily job that reports usage to Stripe.
- International copy and currency. If you localize, write pricing copy in your translation files now. Use
Intl.NumberFormatfor currency display and show the currency you actually bill in.
Using a Nuxt SaaS starter kit means you can plug your tiers into a prebuilt pricing page, wire the calls to action once, and keep the offer consistent across the site and app.
2) Create products and prices in Stripe
Stripe uses Products and Prices. One Product per tier, multiple Prices for intervals or currencies.
- Create products. Add a Product for each tier. Match names and descriptions to what users see in-app. Use clear internal metadata like
plan_keyso support can search quickly. - Add recurring prices. For each Product, create Prices for monthly and annual with the right currency and amount. If you offer trials, set trial_period_days on the Price or pass it in Checkout when you create the session.
- Use lookup keys. Set a
lookup_keylikestarter_monthlyinstead of hardcoding Price IDs in code. You can then reference prices by lookup key in different environments safely. - Taxes and addresses. If you collect tax, enable Stripe Tax or configure manual tax rates. Require billing address and VAT/tax IDs in Checkout when needed.
- Stay in test mode. Do all setup in test first. Keep a checklist of Price IDs or lookup keys to avoid mixing with live later.
In your app, keep a plans table that maps a plan_key to human labels and Stripe IDs. Suggested fields: plan_key, stripe_product_id, stripe_price_id_monthly, stripe_price_id_annual, interval, features, active. This lets you render pricing accurately and validate that any priceId coming from the client is actually one you sell.
3) Implement a subscription checkout in Nuxt
Use a server route to create a Checkout Session. Never expose secret keys in the browser. Never grant access based on a success URL.
Client flow
- User clicks a plan button. The client calls
POST /api/billing/checkoutwith a safe payload:plan_key(or a knownlookup_key), optionalquantity, and the current organization or user ID. - The server validates the plan against your database, resolves to a Stripe Price (monthly or annual), and creates a Checkout Session in subscription mode. Return only the session URL.
- Redirect to the session URL. Stripe handles SCA and 3D Secure.
- Stripe sends users back to your
success_urlorcancel_url. Show a friendly state, but do not activate access here. Wait for the webhook.
Server considerations
- Associate customers. When creating the session, pass the authenticated email and a saved
customerID if you have one. Returning customers keep their payment method and invoices in one place. - Metadata. Include
user_idororg_idandplan_keyinmetadataso webhook handlers can join events to your records without extra queries. - Quantities and seats. For seat-based plans, pass
quantityto Checkout and store it on your subscription record. Update when admins add or remove seats. - Billing Portal. Enable the Stripe Billing Portal and add a button in your app’s billing page so customers can update cards, change plans, or cancel without support.
- Protect content. Gate premium routes via server middleware and API guards. Hide UI affordances, but always enforce on the server too.
- Environment config. Keep
STRIPE_SECRET_KEYandSTRIPE_WEBHOOK_SECRETinruntimeConfig. Separate test and live values by environment.
A Nuxt SaaS starter kit like shipahe.ad includes subscription checkout for one-time and recurring payments, swappable providers behind a small interface, user authentication, and protected pages. You focus on plans and copy, not plumbing.
4) Handle webhooks for lifecycle events
Webhooks are the source of truth for access. Create a secure endpoint, verify signatures against the raw request body, and make idempotent updates to your database.
Events to handle
- checkout.session.completed. Read the session, capture
customerandsubscription, and attach the Stripe customer ID to your user or organization. Set subscription status to active or trialing based on the object. - customer.subscription.updated. Track
status,current_period_end,cancel_at_period_end,trial_end,items.price.id, andquantity. This powers upgrade/downgrade UI, trial banners, and renewal notices. - invoice.payment_succeeded. Confirm continued access, increment MRR metrics, and optionally send a payment confirmation email with a link to invoices.
- invoice.payment_failed. Mark the account past_due, show in-app notices, and email a short, actionable message with a link to update the card. Do not immediately revoke access if Stripe will retry.
- customer.subscription.deleted. Move users to Free and remove premium capabilities. Preserve data but hide premium features.
Verification, idempotency, and retries
- Verify signatures. Use your webhook signing secret to verify requests with the raw payload. In Nuxt, read the raw body before JSON parsing for signature checks.
- Idempotent updates. Store processed Stripe
event.idvalues in a table. If Stripe retries, your handler should be safe to run again. - Fast acks, background jobs. Do small updates inline, queue heavy work (reports, large emails) to a worker, and return 2xx quickly so Stripe stops retrying.
Keep a subscriptions table with fields like stripe_customer_id, stripe_subscription_id, price_id, status, current_period_end, cancel_at_period_end, trial_end, and quantity. If you support teams, scope subscriptions to an org_id instead of a user.
For local testing, use the Stripe CLI to forward events to localhost and trigger scenarios. A typical flow: listen, run through Checkout in test mode, and confirm your webhook updates the subscription row exactly once.
5) Receipts, dunning, upgrades, and proration
After the basics work, refine renewals, failed payments, and plan changes so customers always know what will happen next.
- Receipts. Let Stripe email receipts automatically. If you also want in-app messages, send a transactional email on invoice.payment_succeeded with invoice links and a clear subject.
- Dunning. Start simple with Stripe’s retry schedule. On invoice.payment_failed, show a banner and send a concise email with a secure link to your billing page or portal. Escalate tone only after the final failed attempt.
- Upgrades and proration. Stripe prorates by default when upgrading mid-cycle. Before confirming a change, call the upcoming invoice endpoint to show the customer what they will pay now and what renewals look like. Reflect
current_period_endin UI. - Trials to paid. Send onboarding during the trial (trial_will_end) and right after checkout.session.completed. The goal is clear “first value” before the first charge.
- Analytics. Track
plan_selected,checkout_started,checkout_completed, andsubscription_activated. Look for drop-offs between pricing and Checkout, and between Checkout and activation.
Common pitfalls and how to avoid them
- Trusting the success page. Only webhooks should activate access. Success URLs are easy to spoof.
- Mismatched environments. Test keys with live Price IDs will fail. Keep test and live IDs and webhook secrets cleanly separated.
- Letting the client pick any price. Resolve a server-side plan to a known Stripe Price. Reject unknown or mismatched IDs.
- Missing access checks. Hide links in the UI, but also enforce access in server middleware and API handlers.
- No admin tooling. Give support a way to look up users by email, see subscription status, resend emails, and apply courtesy extensions.
- Skipping local webhook tests. Use a tunneling or CLI tool to forward events to
localhostand exercise success, failure, cancel, upgrade, and downgrade paths.
Tie it together with a Nuxt SaaS starter kit
If you are weighing a Vue/Nuxt starter versus going from scratch, a ready-made Nuxt SaaS kit saves days of glue work. The shipahe.ad kit ships with user auth and protected pages, subscription Checkout flows for one-time and recurring payments, transactional email templates, an admin panel, scheduled cron jobs, and built-in analytics. Drop in your plans and copy, wire Stripe keys, and you have a working paywall with clear webhooks and a billing page that customers can self-serve from.
Key takeaways
- Decide tiers, intervals, trials, and access rules first. Put paid features behind protected routes and server checks.
- Create Products and recurring Prices in Stripe test mode, use lookup keys, and store mappings in your database.
- Create Checkout Sessions from a server endpoint. Activate access from webhooks only, never from success URLs.
- Handle core lifecycle events, verify signatures on raw bodies, and make idempotent updates to your subscription table.
- Use the Billing Portal, transactional emails, and basic analytics to reduce churn and clarify charges.
The same plumbing powers a SaaS, a web app, or an AI tool. With a solid Nuxt starter and disciplined webhook handling, you can launch fast and charge with confidence.
FAQ
How do I test Stripe webhooks locally in a Nuxt app?
Run your Nuxt server and use a tunneling or CLI tool to forward Stripe events to your local webhook URL. Verify signatures and log each event to confirm your update logic.
Should I mark the user active after checkout success or only on webhooks?
Only on webhooks. The success page can be spoofed. Use events like checkout.session.completed and customer.subscription.updated to flip access in your database.
How do I handle free trials in Stripe with Nuxt?
Set a trial on the Price or pass a trial during Checkout Session creation. Store trial end dates from webhooks and show them in your billing UI so users know when they will be charged.
Can I switch payment providers later without rewriting my Nuxt front end?
Yes if your server abstracts checkout creation and billing operations. A starter kit that supports multiple, swappable providers helps you keep the client code stable.
What’s the best way to protect premium pages in Nuxt?
Use authentication and route middleware to check subscription status before rendering. Also lock down the server APIs behind those pages to prevent direct access.
Ready to ship your SaaS?
Stripe SaaS: A Step-by-Step Guide for Nuxt Builders
Build a Stripe SaaS with a Nuxt starter kit: auth, checkout, subscriptions, webhooks, and billing UX. Step-by-step guide to ship fast with confidence.
Best Nuxt Starter Kits for SaaS Projects (2026)
Looking for the best Nuxt starter kit? I've reviewed the top Nuxt boilerplates to help you find a stack that doesn't get in your way.