
Nuxt Stripe payments for one-time and subscription billing

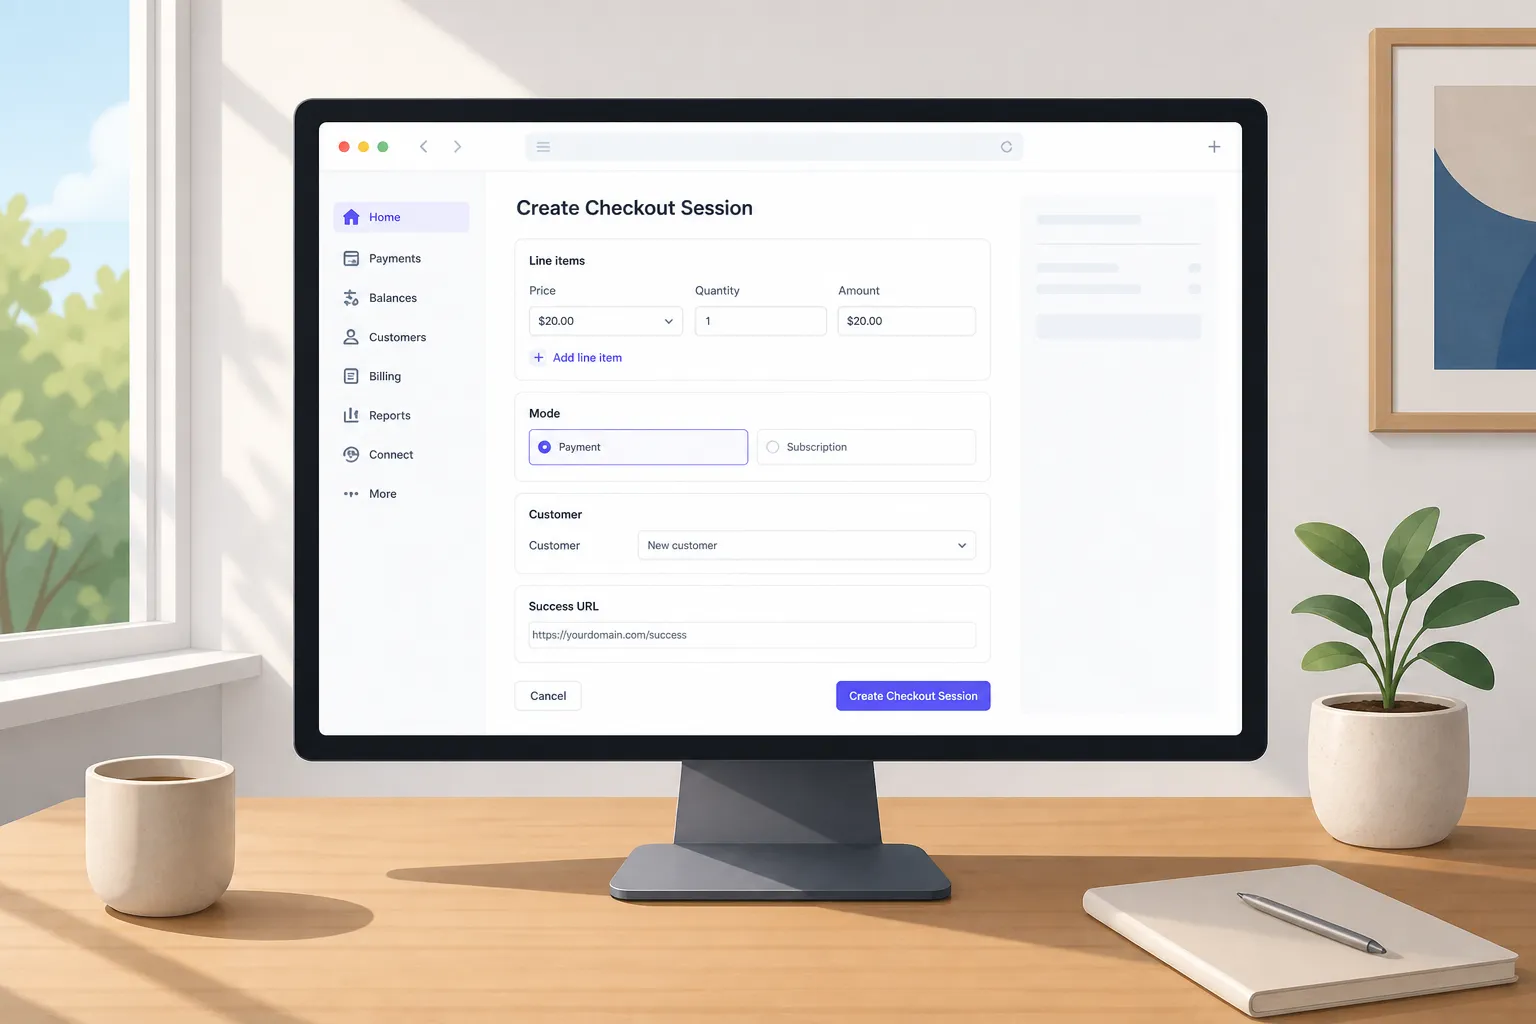
You want to accept money in your Nuxt app without duct-taping code together. Stripe is a solid choice, but mixing one-time purchases, subscriptions, trials, and the webhook glue gets confusing fast. This guide gives you a clear, repeatable pattern for Nuxt Stripe payments that you can put in production.
We will use Stripe Checkout because it is quick to implement, handles Strong Customer Authentication, and works for both one-time and recurring billing. The same structure applies whether you are selling a small digital product, an AI tool, or a full SaaS.
1) Choose your payment flow
Pick a product model
- One-time purchase. A single payment that unlocks a file, feature, or credit pack. Good for add-ons and downloadable assets.
- Subscription. Recurring billing tied to plans. Add free trials or intro pricing if needed. Good for SaaS tiers and usage that resets monthly.
- Hybrid. Mix both. For example, a monthly plan plus a one-time add-on that boosts limits. If you are building something like CoinDrop, you might sell a monthly tier and let users buy a one-time boost for a promotion.
Choose Stripe primitives
- Define Products and Prices in the Stripe Dashboard. Use one-time prices for single charges and recurring prices for subscriptions.
- Use Stripe Checkout for the hosted payment page. Always create the Checkout Session on your server and redirect the browser to it. This keeps PCI scope low and handles 3D Secure.
- Use Webhooks to confirm payment and flip access in your app. Do not grant entitlements on a client-only success page.
- Create a Stripe Customer for each user and store customer_id on your User row. That makes upgrades, refunds, and future purchases consistent.
2) One-time payments with Stripe Checkout
Your flow: user clicks Buy, your server creates a Checkout Session with mode set to payment, Stripe collects the card, Stripe pings your webhook, and your app grants access.
- Define the catalog. In Stripe, create a Product with a one-time Price. Record the price_id in your app config. Keep an allowlist of valid price ids on the server.
- Server route to create a session. In Nuxt 3, add a POST route like /api/checkout that validates input, attaches user metadata, and returns session.url. Include success and cancel URLs that route back to your app.
// server/api/checkout.post.ts import Stripe from 'stripe' const stripe = new Stripe(process.env.STRIPE_SECRET_KEY as string, { apiVersion: '2023-10-16' })const ALLOWED_PRICE_IDS = 'price_123', 'price_456'
export default defineEventHandler(async (event) => { const body = await readBody(event) const user = await getUserFromSession(event) // your auth if (!ALLOWED_PRICE_IDS.includes(body.priceId)) throw createError({ statusCode: 400 })
const session = await stripe.checkout.sessions.create({ mode: 'payment', line_items: { price: body.priceId, quantity: body.quantity || 1 }, customer: user.stripeCustomerId || undefined, customer_email: user.email, success_url:
${process.env.PUBLIC_BASE_URL}/purchase/success?session_id={CHECKOUT_SESSION_ID}, cancel_url:${process.env.PUBLIC_BASE_URL}/purchase/cancel, metadata: { user_id: String(user.id), product_key: body.productKey || '' }, allow_promotion_codes: true, automatic_tax: { enabled: true } }, { idempotencyKey: crypto.randomUUID() })
return { url: session.url } })
- Redirect from the client. On your product page, call /api/checkout and redirect to the returned URL. Keep the UI clean. One Buy button, a short explainer, and a price.
- Flip access on webhook, not on the success page. In your webhook handler, verify the signature and on checkout.session.completed mark the purchase as paid. Create a Purchase row that includes payment_intent id, user_id from metadata, and the product key. Grant access by inserting a record into a UserEntitlements table or toggling a feature flag.
// server/api/stripe-webhook.post.ts import Stripe from 'stripe' const stripe = new Stripe(process.env.STRIPE_SECRET_KEY as string, { apiVersion: '2023-10-16' })export default defineEventHandler(async (event) => { const sig = getHeader(event, 'stripe-signature') as string const buf = await readRawBody(event) let stripeEvent: Stripe.Event try { stripeEvent = stripe.webhooks.constructEvent(buf!, sig, process.env.STRIPE_WEBHOOK_SECRET as string) } catch (err) { throw createError({ statusCode: 400 }) }
// Idempotency: do nothing if we have processed this event.id before if (await alreadyHandled(stripeEvent.id)) return 'ok'
if (stripeEvent.type === 'checkout.session.completed') { const session = stripeEvent.data.object as Stripe.Checkout.Session const userId = Number(session.metadata?.user_id) await grantOneTimeEntitlement({ userId, paymentIntentId: String(session.payment_intent), productKey: String(session.metadata?.product_key) }) }
await markHandled(stripeEvent.id) return 'ok' })
- Send receipts. Stripe can send receipts automatically. If you send your own email, include a link to the protected page or download, and a VAT invoice link if you collect tax IDs.
- Protect the content. Gate access server-side. For downloads, generate a short-lived signed URL after you confirm the paid Purchase record.
3) Subscriptions and trials
Subscriptions add lifecycle events. Plan for upgrades, downgrades, renewals, cancellations, and expired trials. Stripe Checkout creates the subscription and emits consistent events you can trust.
- Create recurring prices. In Stripe, set up monthly or yearly Prices. If you want a trial, either set a trial period on the Price or set trial_end when creating the Checkout Session to control the exact date.
- Subscription checkout route. Similar to one-time, but set mode to subscription and pass the recurring price id. Keep a server-side allowlist of tier price ids, and add user_id and plan to metadata.
// server/api/subscribe.post.ts
const session = await stripe.checkout.sessions.create({
mode: 'subscription',
line_items: { price: body.priceId, quantity: 1 },
customer: user.stripeCustomerId || undefined,
success_url: ${process.env.PUBLIC_BASE_URL}/account/billing?session_id={CHECKOUT_SESSION_ID},
cancel_url: ${process.env.PUBLIC_BASE_URL}/pricing,
subscription_data: {
trial_end: body.trialEnd || undefined,
metadata: { user_id: String(user.id), plan: body.planKey }
},
allow_promotion_codes: true
})- Persist the subscription. On checkout.session.completed, read session.subscription to get the subscription id. Store a Subscription row with status active, current_period_end, plan id, and the Stripe customer id. Use invoice.paid to extend access and invoice.payment_failed to start dunning with a short grace period.
- Upgrades and downgrades. For upgrades mid-cycle, update the subscription item with proration_behavior set to create_prorations so users pay the difference. For downgrades, schedule the change at period end and reflect it in your UI with a plan_change_requested flag.
- Cancellations and trials. On customer.subscription.updated or deleted, sync status to past_due, canceled, or paused. If a trial ends without payment, remove entitlements when the subscription becomes incomplete_expired.
4) Webhooks, testing, and launch
Webhook fundamentals
- Verify signatures. Use the signing secret from your Stripe Dashboard. Reject any event that fails verification.
- Idempotency and retries. Store processed event ids. Stripe retries on failures and timeouts. Make handlers side-effect safe.
- Map events to users. Put your internal user_id into Checkout Session metadata or into the Customer object. Do not rely on email lookups that can change.
- Choose the right events. For one-time, rely on checkout.session.completed. For subscriptions, also listen to invoice.paid, invoice.payment_failed, customer.subscription.updated, and customer.subscription.deleted. Handle charge.refunded to revoke one-time access when needed.
Receipts and emails
- Stripe receipts. Turn on email receipts in Stripe for payment confirmations and refunds.
- Your transactional emails. Send welcomes, payment confirmations, dunning messages, and cancellation notices from your app. Include a Manage billing link in your account area.
Testing
- Use test keys and env vars. Keep STRIPE_SECRET_KEY and STRIPE_WEBHOOK_SECRET in .env. Never mix test and live data.
- Test 3D Secure and failures. Use Stripe’s test cards to cover success, authentication required, insufficient funds, and generic declines. Verify your UI messages.
- Run webhooks locally. Use the Stripe CLI to forward events to your machine: stripe listen --forward-to localhost:3000/api/stripe-webhook. Replay an event to confirm idempotency.
- Validate entitlements. After each test purchase, check database rows and confirm protected pages are gated. Revoke access and test again to catch race conditions.
- Refunds and disputes. Add a simple admin action to refund and revoke access. For subscriptions, document whether you prorate on mid-cycle refunds.
- Go live safely. Switch production to live keys, set the live webhook signing secret, and verify success_url and cancel_url use your live domain. Run a small live charge on your own card to sanity check.
Where a Nuxt SaaS starter kit helps
If you want to ship fast, a solid Nuxt SaaS starter kit cuts weeks from setup. Shipahe.ad includes authentication, protected pages for paid features, subscription and one-time checkout flows, webhooks wired to entitlements, transactional emails, an admin panel to view users and ban spammers, multi-language support with an in-app switch, deployment presets, a prebuilt landing page you can customize, built-in analytics to watch signups and conversions, and SEO automation for meta tags and sitemaps. It also works cleanly with AI coding tools like Cursor or Claude, which helps you write server routes and handlers faster without fighting the stack.
Key takeaways
- Stripe Checkout plus webhooks is the fastest, reliable path for Nuxt Stripe payments across one-time and subscriptions.
- Model entitlements in your database and flip them only on verified webhook events, not on client redirects.
- Keep a Stripe customer_id on each user and an allowlist of price ids on the server.
- Test every branch in test mode, including authentication-required flows and failures, before going live.
- A Nuxt starter kit with payments, protected pages, emails, and admin removes setup friction so you can focus on your product.
Ready to ship your SaaS?
Nuxt SEO Best Practices – How to Get Your SaaS Ranked in 2026
Stop building for ghosts. Learn the essential Nuxt SEO best practices to grow your SaaS traffic. A simple guide to metadata, sitemaps, and core web vitals.
Nuxt test-utils: setup, examples, and testing patterns
Set up nuxt test-utils with Vitest, write component, server, and browser tests for Nuxt 3, and avoid flaky suites with clear, concrete patterns.